
The base for the fireplace is a piece of Mdf 7" wide by 14"high (the main floor is 14 inches high and the 2nd floor is 11 1/2 inches high) . After I cut out the opening for the fire box, I did some research and played around with basewood molding. I wanted the fireplaces to look very massive and imposing.
I never sculpted before in my life, but I figured I'd give it a go. I've always liked the myth of the Three graces. I purchased some air-dry clay and sculpted figures using sewing needles and a few carving tools and jeweler's screw drivers. I let them dry for a week and attached them to the MDF base using gel Super Glue. I then cut out a fireplace surround in double thick poster board but didn't glue it into place.

I then covered both fireplaces (I made 2 which will face each other in the Great Room) with acrylic gesso. Gesso is a thick primer which gives a great base for painting and fills in many small cracks and imperfections.


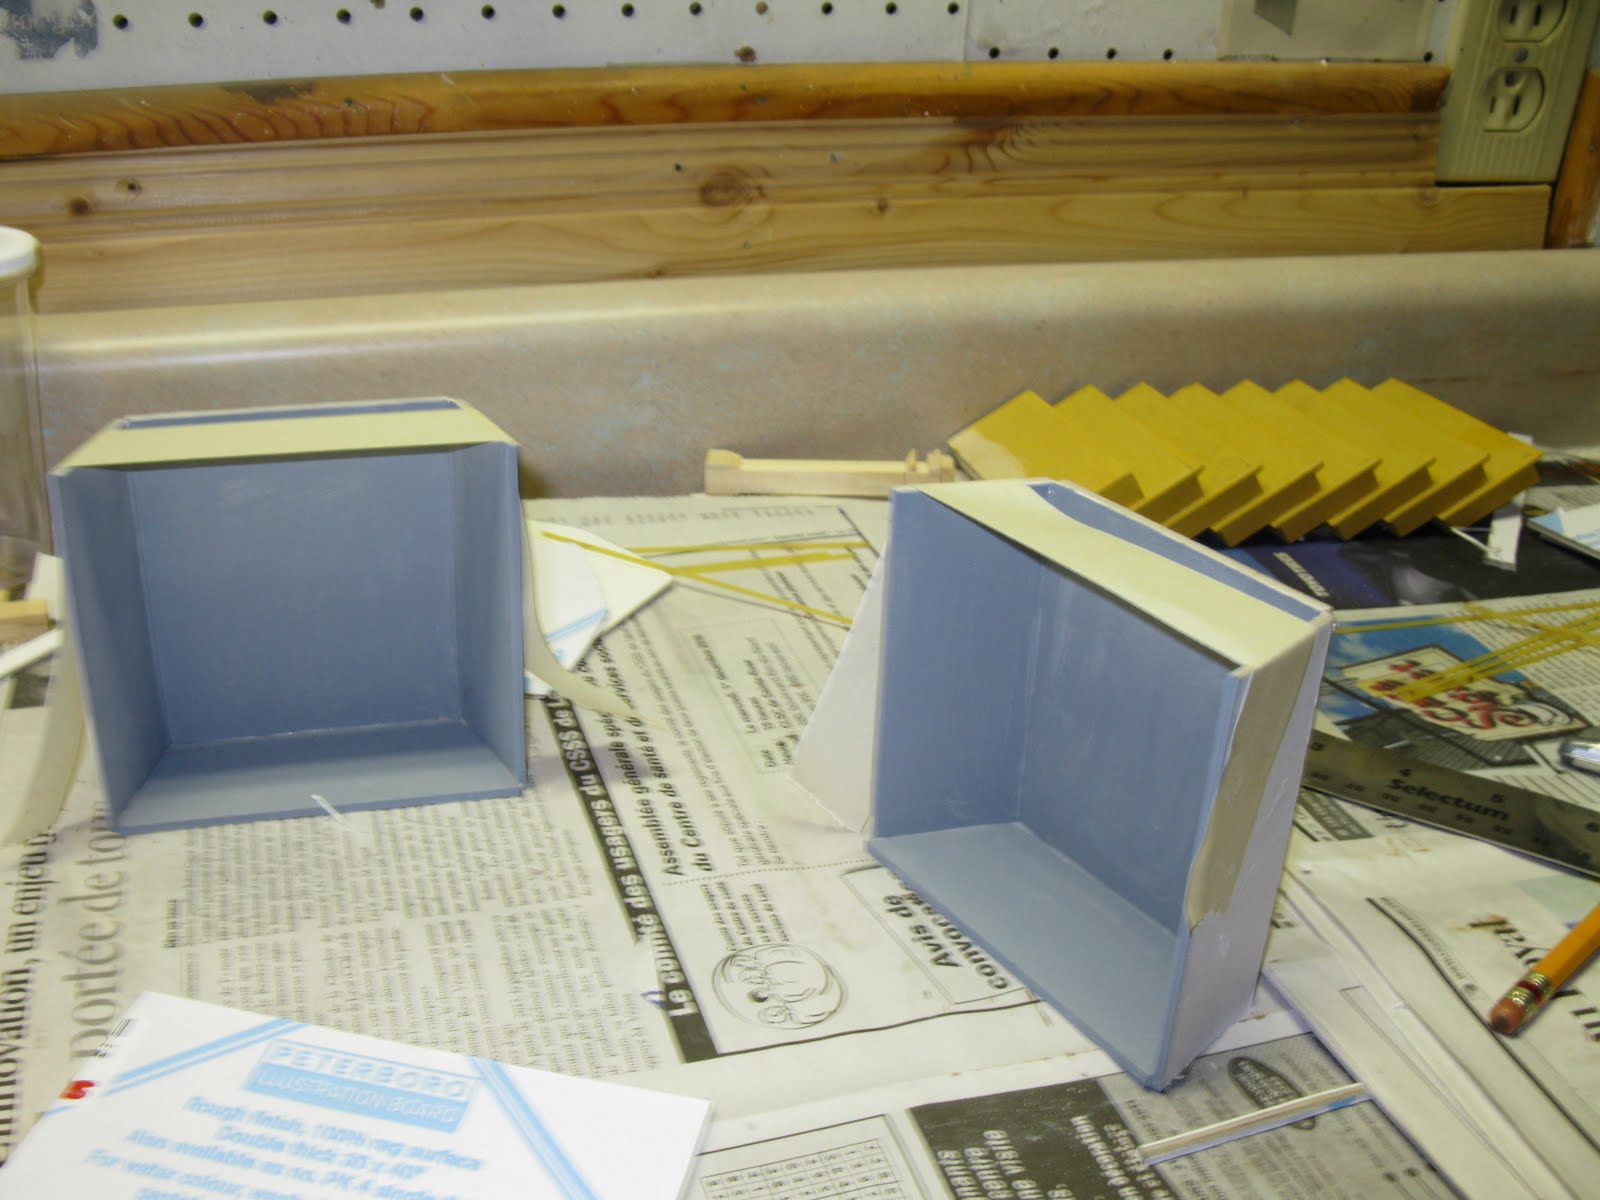
The last step was to make the fireplace surrounds look like marble. I used a thin basewood molding strip to add some detail to the posterboard. Next, Icovered the 2 sides of the piece with 2 coats of acrylic qesso. I then used Delta Ceramcoat water based paints (2 shades of gray, black and white) and a sea sponge to texture the surface, making sure each color dried before the next was applied. I used a toothpick to create vains and when all was dry I put on 3 coats of spray gloss. Finally, I rubbed the surface with 0000 steel whool to tone down the glossy shine and it was ready.
The picture is before the steel whool rubbing.

For the firebox, I used double thick posterboard and some glue to make the box. I then covered it in gesso, painted it in gray (color of the mortar) and applied the magic brick system to create bricks.

Hi Giac! I just discovered your blog and I am so happy. You are a genius. I'm not though (LOL). I am reading your blog from beginning to end. I don't have a blog to share with you, unfortunately! Sorry! I can't get over what beautiful work you do. You are just so daring! You must have a huge workshop!
ReplyDeleteThank you so much for your kind words, I appreciate it very much. Should you ever have any questions, please don't hesitate to ask. I'm not a professional, but I would love to be of any help I can.
ReplyDeleteGood luck on your projects,
All the best,
Giac
Wow Giac You are so talented (& brave)! To achieve such wonderful results with your first attempt! I wish I could be more like that! I am always so reluctant to try something I have not done before. But your wonderful blog inspires me!
ReplyDeleteHugs to you! x