
Hello my friends,
I hope you all had a very merry Christmas and a wonderful New Year. Mine was great! We spent time with family, had wonderful food, saw great movies, and I spent a fair bit of time on my minis. I did not comment on your blogs over the holidays. I make it a point to stay away from my computer during the holidays, but I am back at it now. Thank you for your comments on my last post. I was asked 2 question on my last post. The animal in front of the fireplace is a Pharaoh hound I purchased at the Montreal Miniature show last year from Karl Blindheim. secondly, I speak English, french and Italian...but I use Google Translate to leave comments on your blogs. I like answering in the language the post was written.
I had planned on spending the holiday break painting, but as I looked at that huge pile of lumber I decided it would be easier to assemble as much as I can before painting. Individual lumber strips are tiresome to paint and hard to manoeuvre. So, I spent my holidays building the elements for the library floor. Here is what got done. I have already covered most of these items, so feel free to skip anything repetitive.
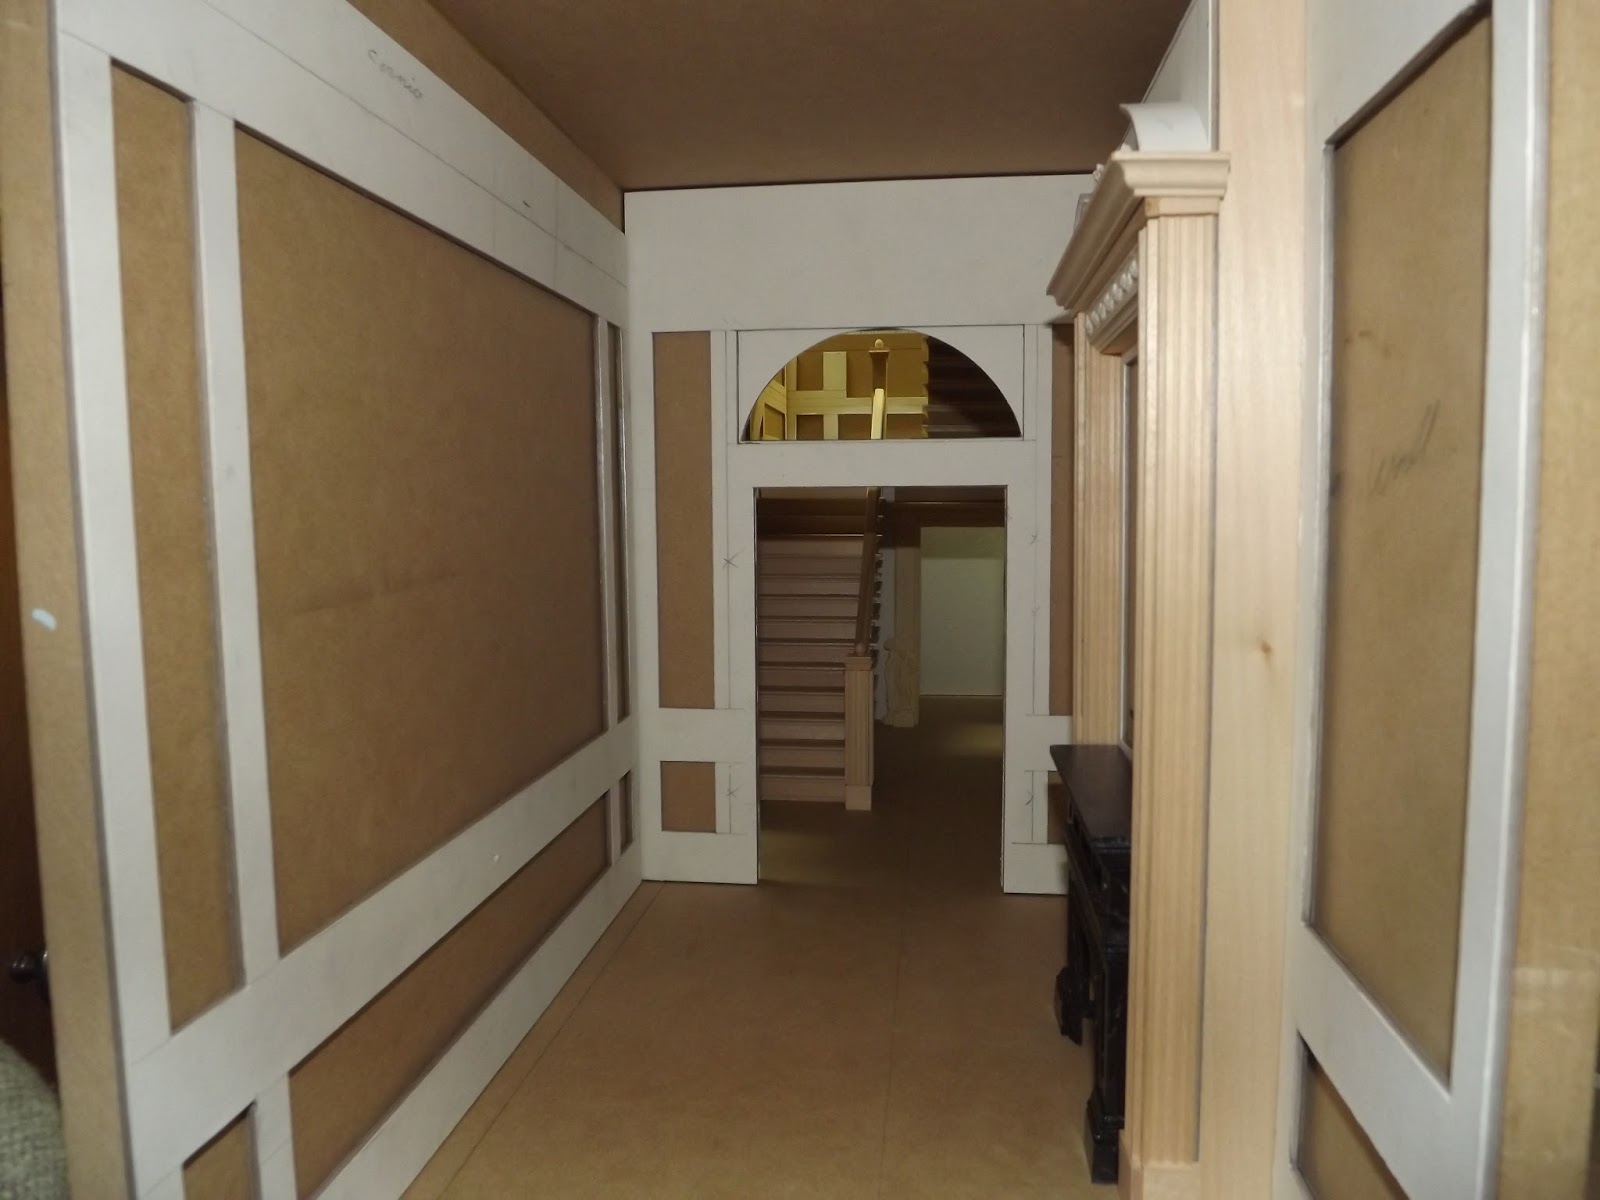
 |
| View from the front of the structure |
The staircase:

Staircases seem to worry many. The manor has 3 staircases built from scratch and while they are time consuming, they are not difficult at all. There are many ways to build the steps. For this staircase I cut 22 pieces of MDF to 4" x 5/8" x 3/4". Each one of these will be a 5/8 inch step. As I mentioned in my last post, I glued them together using a spacer I made a long time ago.

The spacer keeps the steps consistent and speed up the process immensely. I use carpenters glue to join the pieces with a drop of gel super glue on each end. I repeat, the super glue is just to keep the pieces together while the carpenter's glue sets. Sometimes the MDF drinks the super glue, so I just add a drop more.
The next step is normally to add nosing on the top of each piece. However, the saw I used left marks and I really did not feel like sanding each piece, so I glued a 1/16" x 5/8" x 4"riser on the front of each piece, then glued on the nosing over that, always with the 2 glues.


I used a small cove molding this time, but in the past quarter round moulding has worked well. These steps will be glued to the wall, but it will be difficult for me to make sure they go on straight because of the tight space. To help keep the staircase level, I used leftover lumber to make a support for the lower section of the staircase.

When this is dry the next step is to glue on the newel posts at each end and the banister. To do this, I start by gluing 2 balusters (spindles) in place

You can see one on the 3d and 14th steps. this enables me to make sure the banister follows the angle of the staircase. The next step is to glue the top and bottom newel posts. I made these from a piece of 1/2" x 1/2" lumber, but you can buy some already made. When the 2 balusters and the newel posts are solid, then I cut and glue the banister in place.

My staircase has 4 newel posts. The top and bottom ones are covered in fluted molding, the 2 middle ones will be left simple, at least until the staircase is permanently glued in place.
 |
| I applied the fluted molding onto the newel post after the banister was glued and solid. The banister being solid is the most important part of the build. |
Each step will get 2 balusters. I will cut the tops of each one at an angle that matches that of the banister and paint them. When the time comes, I will put a bit of Ultimate Glue on the top and bottom of each painted baluster, slip it into the cavity of the banister, then hold them down on the step and line them up to dry. If any of this is unclear, let me know. I will try to show pictures when the time comes to finish the stairs.
With the banisters done, it was time for a test fit. I added 2 pieces of lumber to support the landing of the staircase.
These will be used to glue the landing in place securely when the time comes. I then put the 2 other parts of the staircase in place, one under the landing and the other one over, to see the full effect.
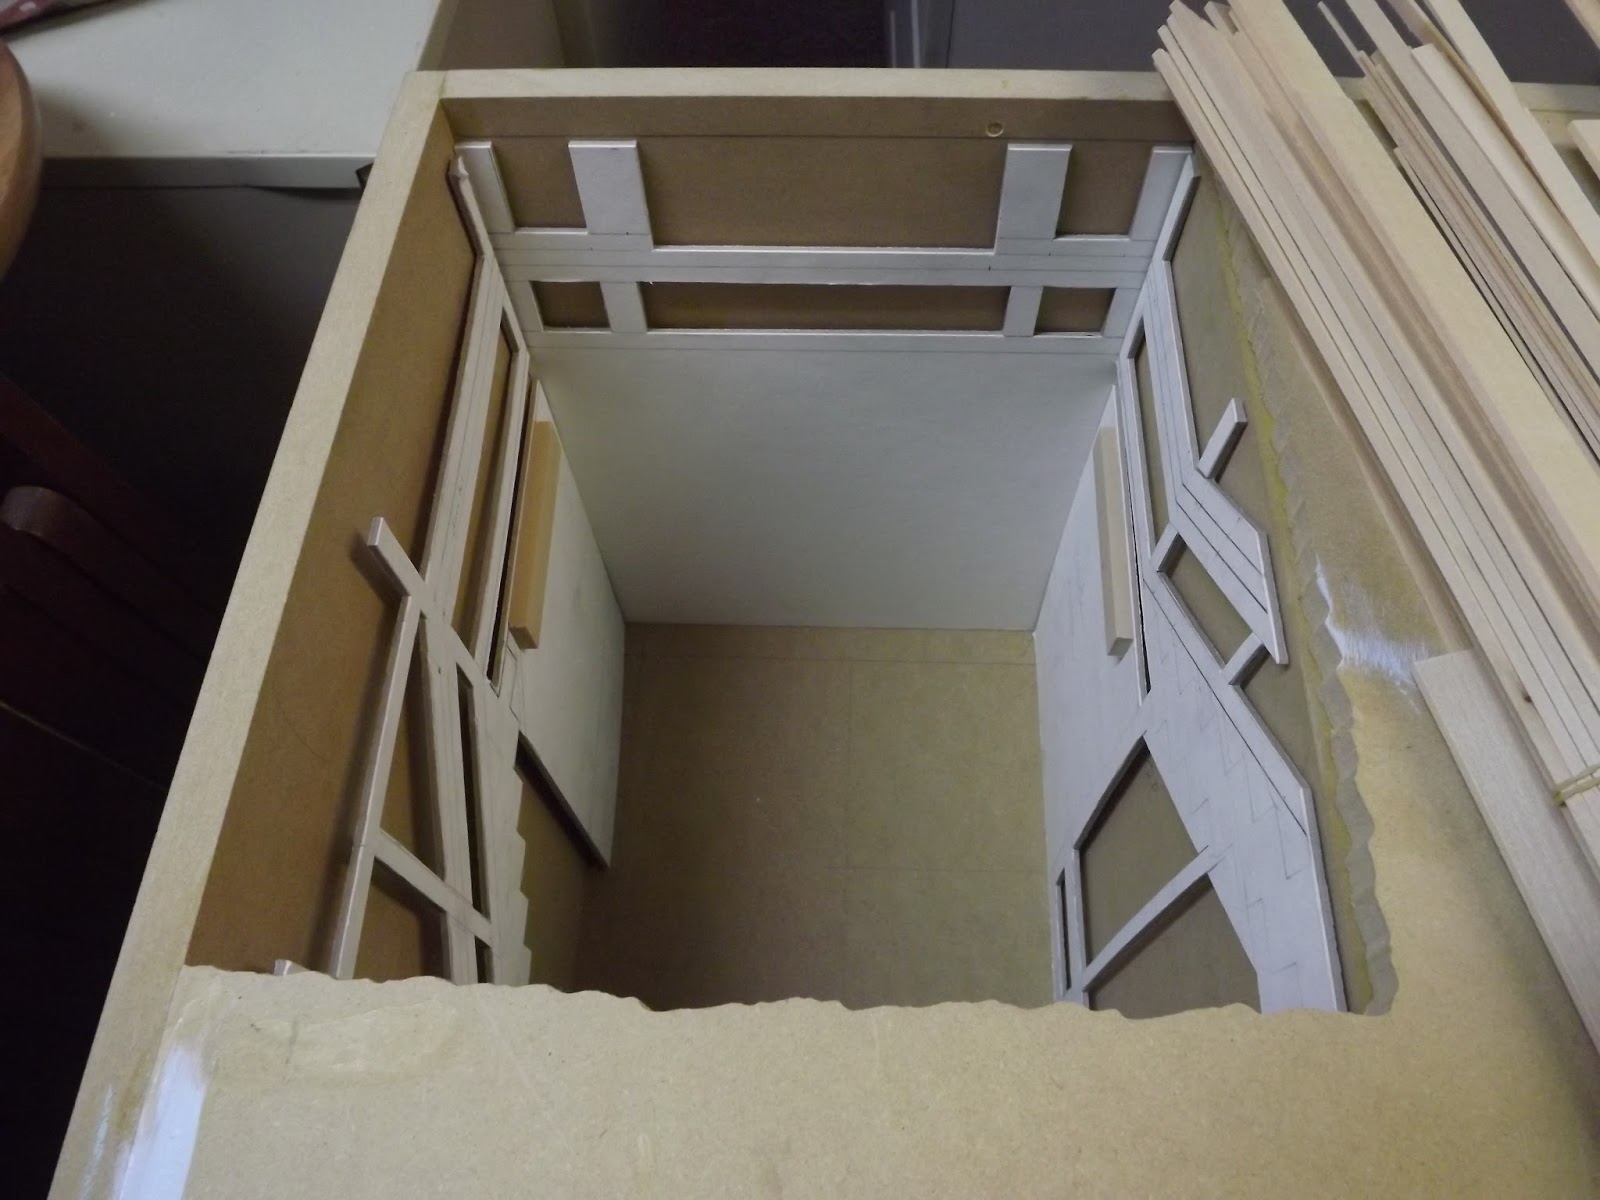
 |
| The top section of the staircase is not properly installed, but it gives you an idea of the final effect |

I think reaching in to faux walnut the structure which will show through the paneling will be difficult, so I am considering filling the panels with a painting to look like a mural

And the above picture brings me to project # 2...
The Archway:
The archway was inspired by a Thorne Room I like. I thought it would be a nice way to separate the areas. I started by making the columns to support the arch. This was done with 1/2" x 1/2" lumber, once again covered with molding.

The bottom section is made with basewood lumber strips, this is capped off with a chair rail molding, over that is fluted molding, and just under the arch is some ogee molding
 |
| The left shows the base of the column, and the right side shows the top of the ogee molding which the arch will sit on. |
The arch is made from 2 pieces of double thick illustration board into which I cut out the arch shape. I used leftover 1/2" lumber to join the 2 sides, and then I cut a half inch strip of single ply illustration board which I scored on the back to help it follow the curve (I show this better when I talk about the fireplace in the earl's office).


In the above picture you can see I built the arch piece to fit over the column. This will make it easy to glue on. This will not be visible to anybody. And here is what the front of the archway looks like...

...and here is what it looks like in place.

The bottom of the left column was notched to fit over the first step. This will make it look like one big structure...I hope.
The fireplace and chimney breast of the earl's office
This always happens with the small rooms of the manor! I think I subconsciously make up for their lack of size by making them more ornate. In this case the earl's office is inspired by the dining room at my favorite house in Newport, The Elms. Here is what the chimney and fireplace look like

The chimney breast is a piece of 2 ply illustration board front with 2 1" x 1/8 inch basewood strips for the sides. To create the column effect on each side, I again used 1/2" x 1/2" lumber and covered it in fluted molding.

By the way, the 1/2" x 1/2" lumber is joint pine from the hardware store, and the fluted molding is actually miniature window frame molding. I used leftover pieces of basewood to make the back of the chimney solid

I used more joint pine, basewood and ogee molding to finish off the top of the columns

The arched pieces are made from basewood and topped with 2 layers of single ply illustration board, the top one being a bit larger then the first to create detail. In the picture above you can see how I scored the back of the cardboard to curve easier, and in the picture below you can see the structure embellished with and over door and a frieze molding from Sue Cook.

The longest step was the fireplace. I made it and the over mantel out of the 2 ply illustration board. It was again inspired b the one in the elms dining room and it took hours to cut out the details...but is was worth it. In the first picture of the fireplace you can see the fireplace was a flat piece of illustration board with several basewood molding strips.

I painted them to look like marble. The red "stone" goes behind the black. Yet again, leftover pieces of wood help make the fireplace sturdy and helps keep the red marble insert in place.

I had another dry run to see the full effect of the office fireplace...

Yes, maybe we will barely see the archway through the office door, but I don't care...I'll know it's there.
Library windows:
I know I took pictures as I was building these, but I just can't find them. I will try to explain as clearly as I can. I have made every window in the manor because the ones on the market are just too small.


The first step is to build a frame with 1/4 inch basewood. In the past I built them free standing, but this time around I was lucky enough to be able to built them right onto the illustration board inner wall.

They are held onto the illustration board by the window frame molding on the inside of the room. In the library, I tried to create the illusion of double hung sash windows. these consist of a smaller pane on the bottom and a larger one on the top. each pane is made of 1/8'' x 1/16'' inch basewood strips.

It can be hard to get all the pieces to align properly, so I use the 1/8'' x 1/16'' as supports for each sash...

You can see my finger holding 2 strips of the basewood. The bottom ones goes all the way the the frame, and the top one does not. I hope the next picture shows how these strips glued on the side create supports for the window panes.

I will try to take better pictures next time...and there will be a next time. So far the manor has 33 windows and there are at least another 45 to go.

So, as I said, no painting got done over the holidays. I was a bit disappointed at first because I am dying to see the elements I've made so far finished, but I am thrilled because my pile of lumber that needs to be painted has gone down by about 30%
 |
| It's not that bad...really... |
Christmas present:
And to finish off this post, my Christmas present. As usual, Jo got both families together to get me something in miniature. They got me one of Randall Zadar's newest pieces called Porcelain Set

It is 1'' tall and while you can get the 5 figurines on the top separately (the lady, the peacock and the 3 cupids) only 50 sets were made with the base so I am thrilled to have one. The picture does not do it justice. I can't wait to finish the new wing and put it in place...either in the gallery or the new library.
And that is all for this time my friends. The next time I post, I hope to have finished the painting and started assembly. Until then, I will be reading and commenting on your blogs.
Big hug to all
Giac